personally I prefer a Santander card
I use an AOPA (US) card. Seems to be all it’s good for.
Very interesting thread btw.
Okay, i opened the small version of the TB20 image, That’s a job for a REAL specialist. It will take a long time to edit that. And since it’s a scan from a print it will never ever become as good as the origina slide. It IS a very nice shot!
(Did you ask Philipp de Segovia if maybe do have the original?)
These are some great tips. My photos from the plane are typically terrible.
Yes – Socata sent me a CD with their various promo pics, and specifically said they don’t have that one. Obviously it’s not “vital” – it was just something of interest.
Back to the haze retouching issue, what I think is needed is a “tutorial” which a Photoshop novice like me can follow. It needs to include a graduation in the correction because the haze is stronger with more distant objects and usually this means less correction towards the bottom of the photo.
I don’t think I have ever seen a really good quality photo taken from any pressurised aircraft. The objective photo quality seems to always get trashed by the windows. OTOH it should be more possible to install a precision optical glass window in say the passenger portion of a PA46 than into anywhere on a TB20 or an SR22.
Hi Peter,
a tutorial is really hard to do, because
- every picture is different
- especially in Photoshop there’s many tools which can lead to the same result
My opinion is that Photoshop is a MUCH too mighty tool for the normal photographer to work with.
I prefer to edit photos in Nikon Capture NX2, which is really more a toll for a photographer than Photoshop. With NX2 you can use “control pints” and define which areas of the picture you want to work in. It is very easy and intuitive to learn – while in Photoshop you have to learn a lot about masks and so son.
I am sure that there are other programs that use the “control point” technology, but you can download and try Capture NX2 and test it for free for 30 days.It sure convinced me.
There are some very special corrections I still do in Photoshop though.
A few weeks ago @DavidS wrote a program for removing haze, described here, and I have just got around to testing it.
It is a windows command line utility, with five parameters, and one needs to play with them to get the desired result. But here are a few example
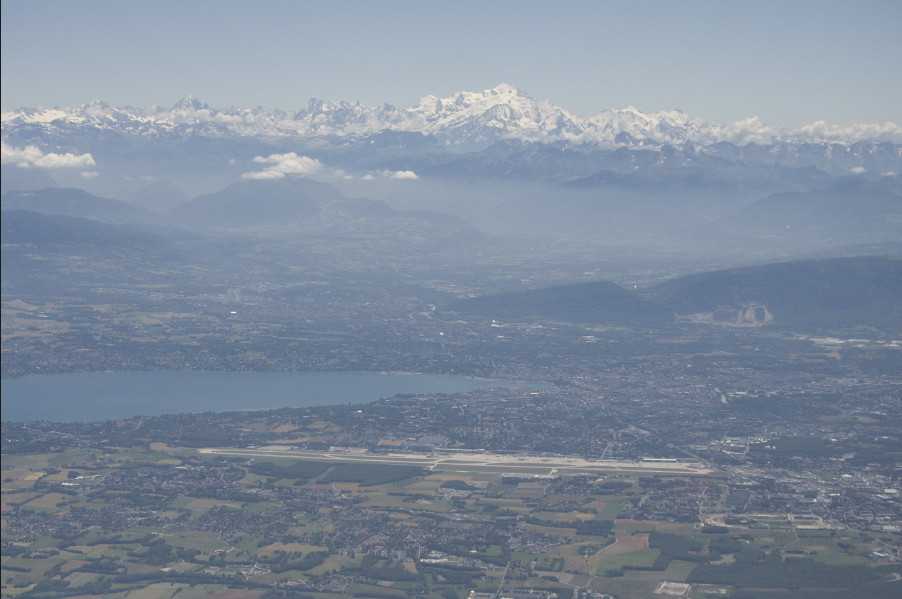
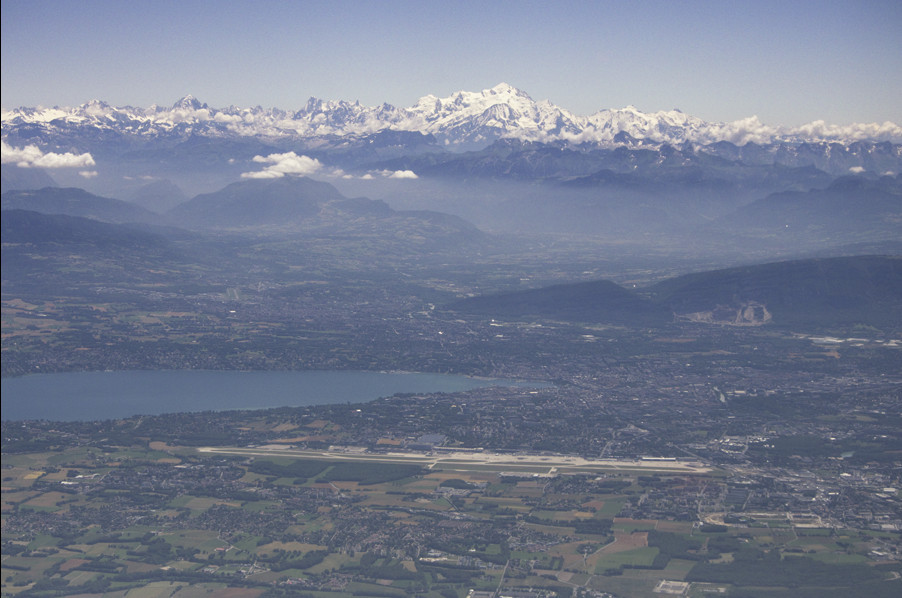
Before:
After:

This was done in Photoshop CS3, using the R+G+B individual Adjust Curves method which I have described here somewhere before:

This was done using the Blacks function in CS3, which is available only on a RAW (DNG in this case) image import
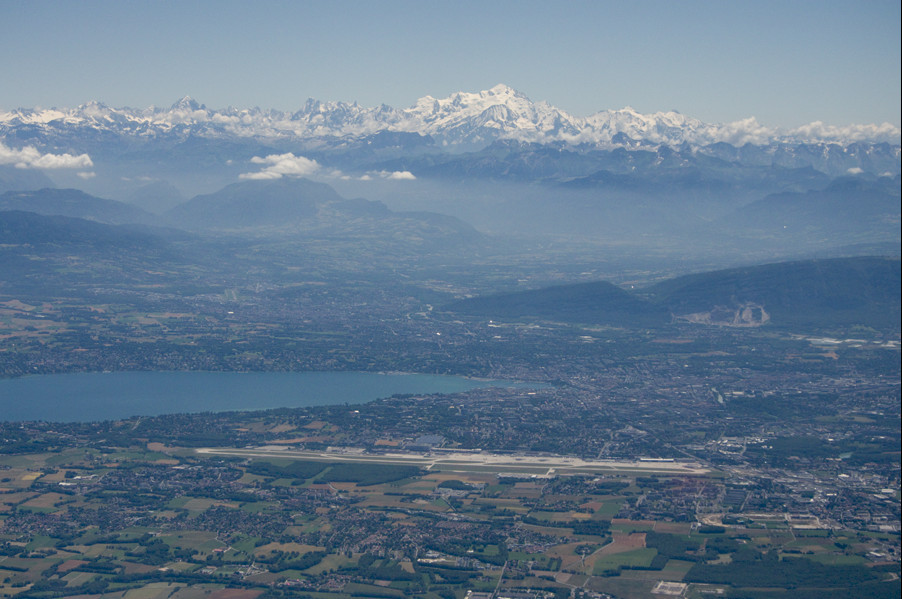
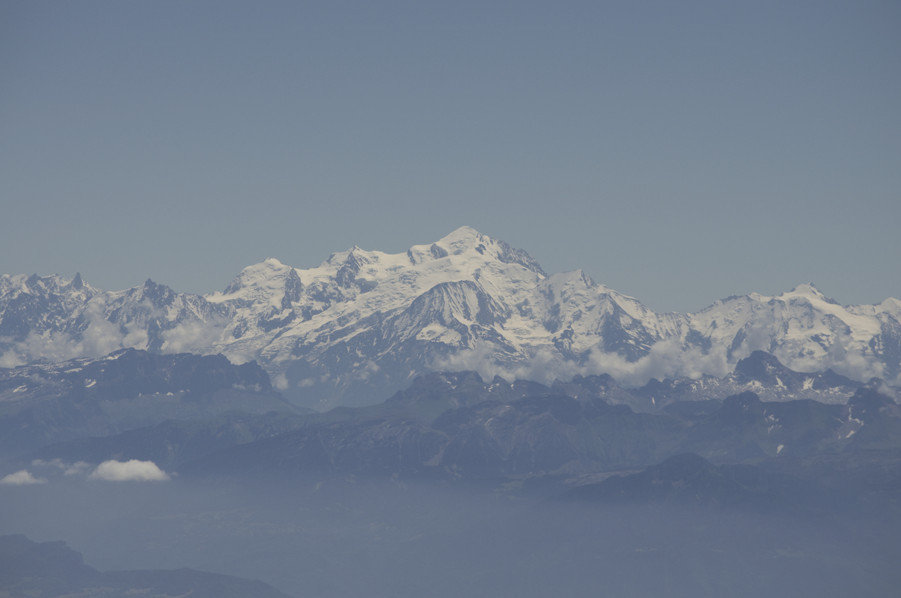
Finally, this one was processed with David’s program with a “correctly” measured sky colour of 165, 181, 188
Here is the before/after for another pic. I used the sky colour just above the summit, which came to 131,146,157
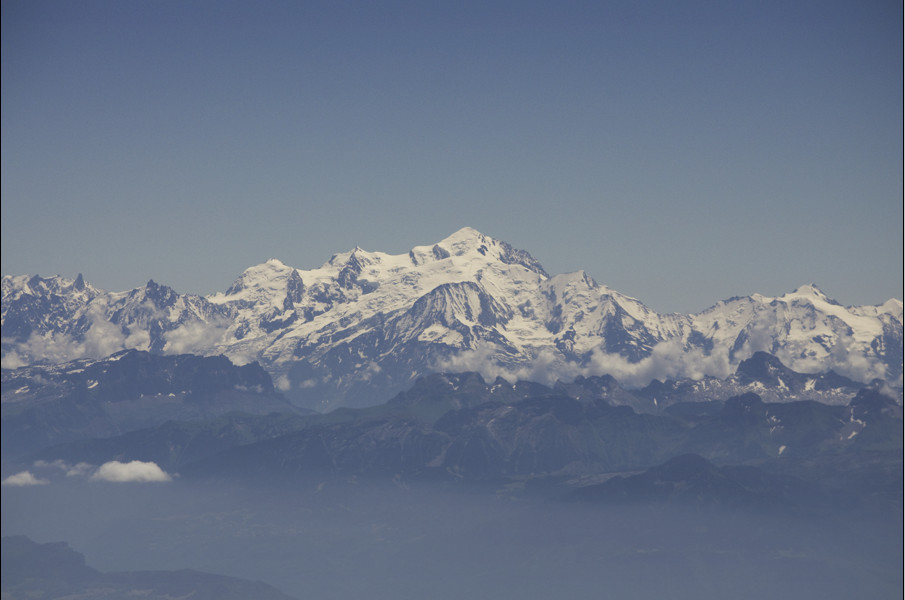
Using a stronger setting gives this
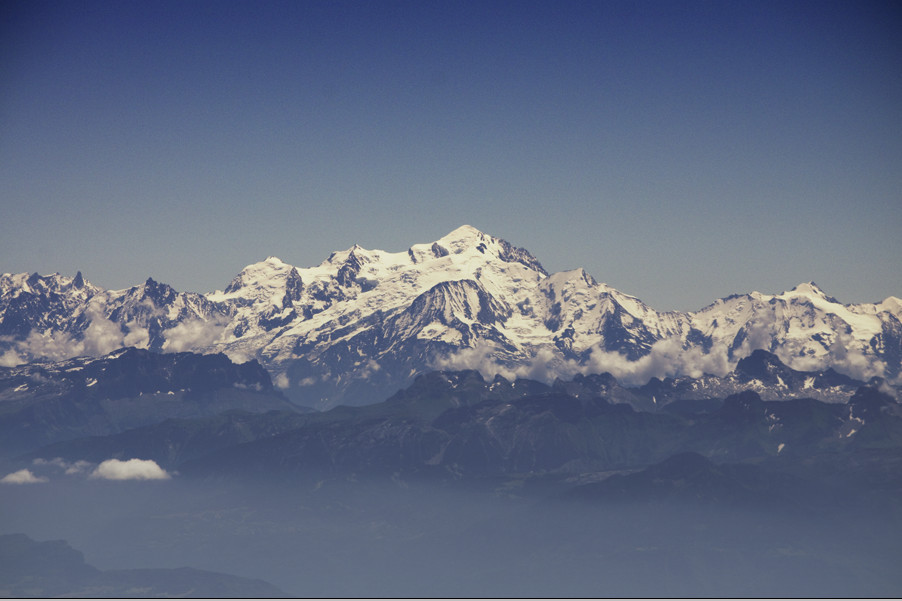
Using the CS3 “Levels” method yields this striking but IMHO over-done image

and using the CS3 “Blacks” method (65% increase) yields this
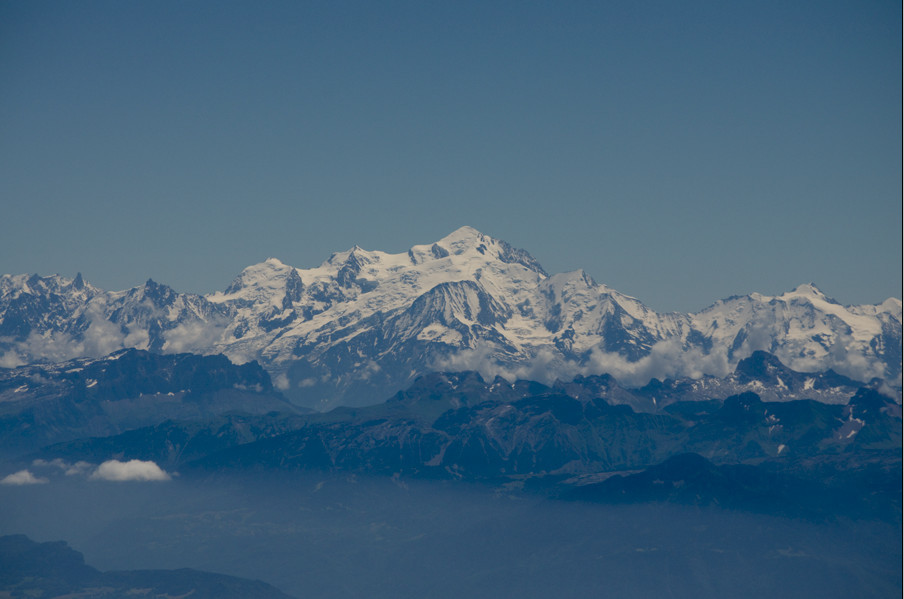
Opinions?
You were actually there – which one looks most like the view out of the window? I’d say that was the ‘best’ one if you’re using authenticity as a benchmark.
Personally, I think the CS3 ‘Levels’ method looks the best, but just don’t do it quite as much?
Your command line tool seems to be clipping white levels – look at the snow.
Yes; however, the eye lies.
Paper looks white even under yellow lights, because we know paper is white.
Snow looks white under any light, for the same reason. Yet, if snow was truly white, any texture on it would be invisible. Snow is basically grey.
The “levels” method did produce a “striking” snow scene but the rest of the time it is a lot more variable, and crucially it doesn’t do a graduated adjustment of any kind. So it looks good on the mountain, but is worse than David’s tool on the “longer” landscapes which have both a foreground and a background, and the background obviously has more haze.
Peter, can you send me the above image by eMail? I’d like to try to edit it!